Partner Voices: Rework Workflow
Inside the 9 steps of CHRIS CLOUTIER’s Golden Rule workflow process.
Chris Cloutier | Autoflow
ASL Industry Partner
MANY SHOPS STRUGGLE with consistency, which can lead to customer confusion and dissatisfaction. This lack of consistency often stems from undocumented workflows and processes, leading to a “shoot-from-the-hip” approach. However, by implementing a standardized process, shops can streamline their operations and improve both efficiency and customer satisfaction:
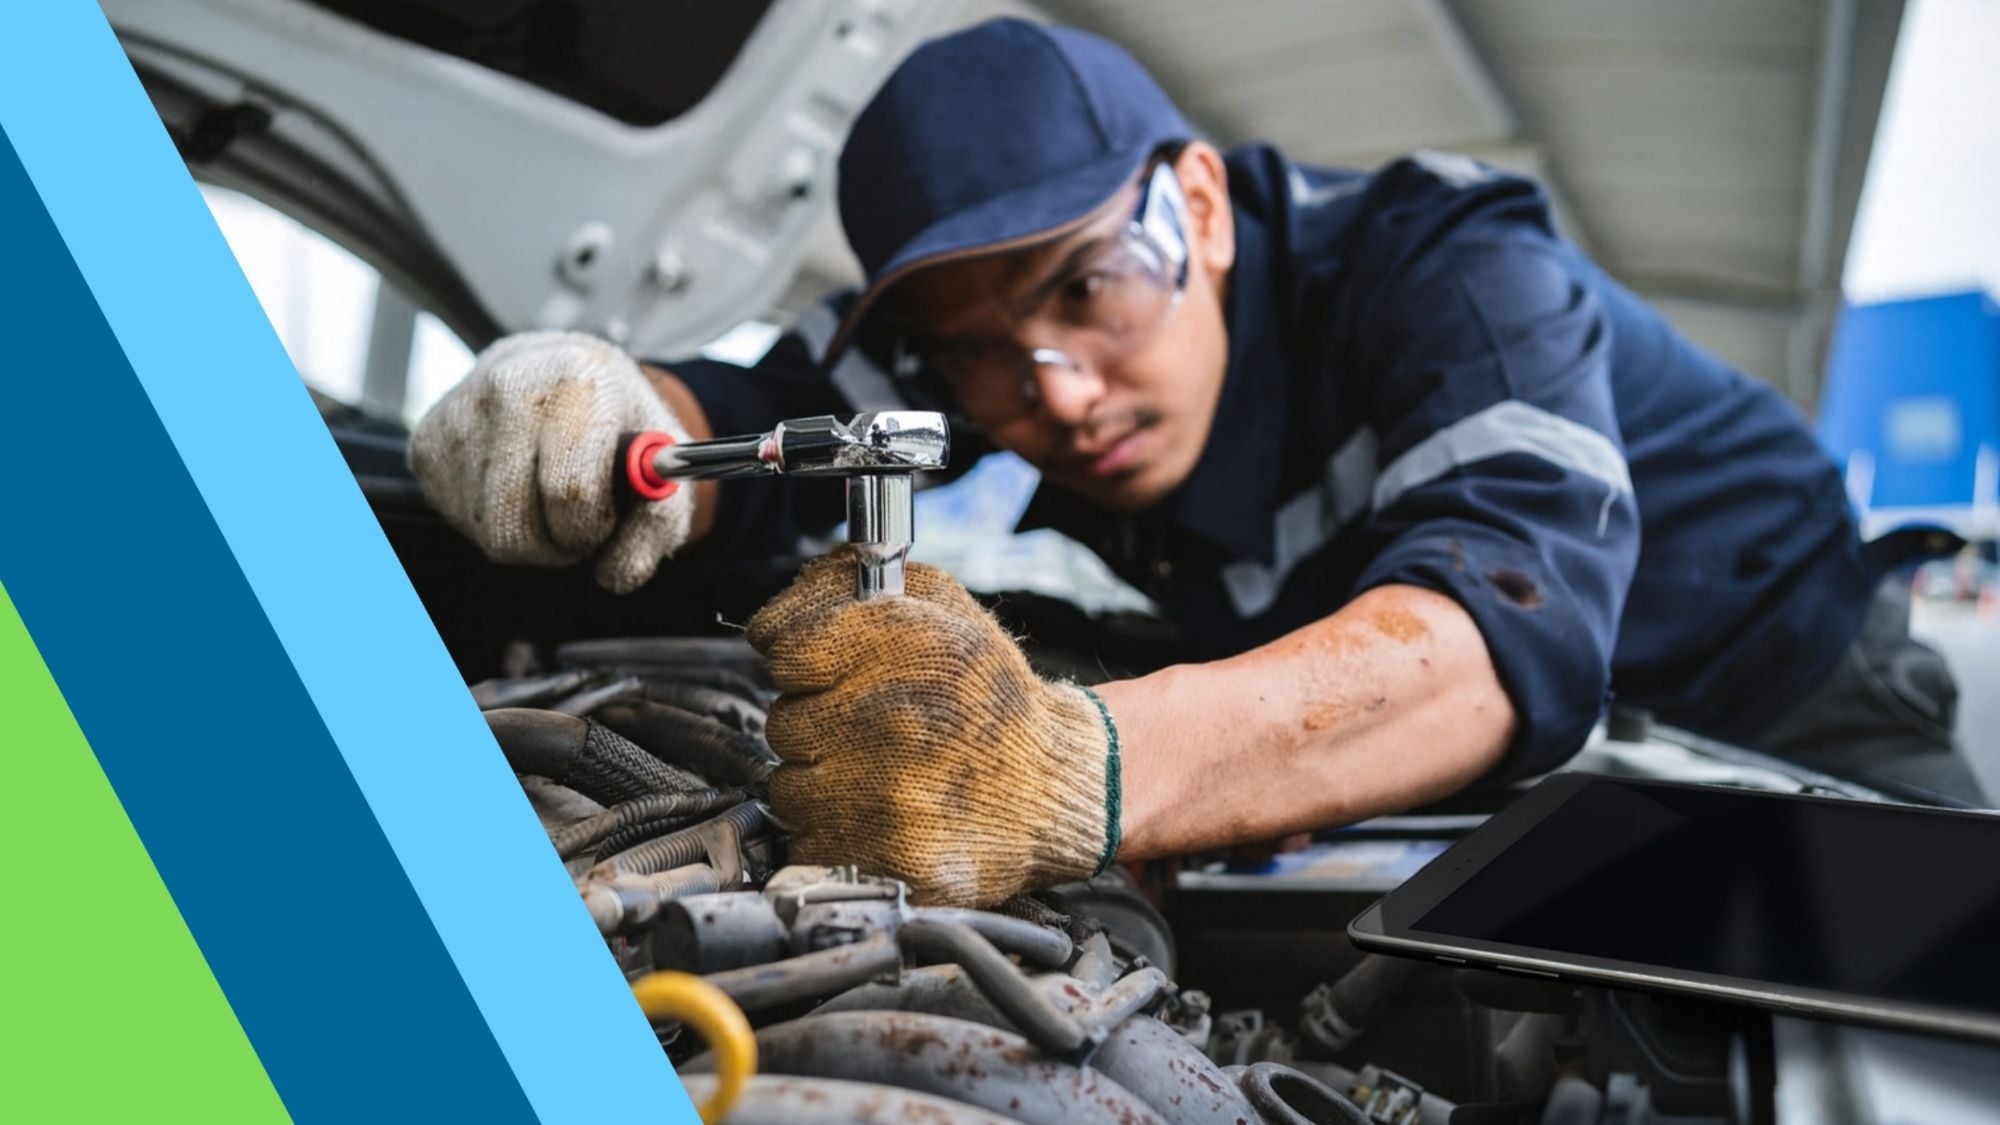
Step 1: Vehicle Check and Information Gathering
The first step in the process is conducting a thorough check of the vehicle and gathering all relevant information. This includes obtaining the vehicle’s VIN or license plate number to ensure the correct make, model, and year are entered into the system. By capturing this data, the shop ensures the technician will work on the correct vehicle and be prepared with the right tools and parts.
The check also involves noting any visible issues, such as check engine lights or dashboard alerts. In some cases, this information may be subjective, depending on how busy the front counter is at the time. If the counter is busy, the vehicle check may be delayed, but it is a necessary step to begin the diagnostic process.
Step 2: Diagnosis and Inspection
Once the vehicle’s basic information is logged, the technician moves to the diagnostic and inspection phase. This step is crucial for identifying the root cause of the complaint, but it can often uncover additional issues.
During this phase, the technician carefully inspects the vehicle and fills out a detailed report on what was found. This inspection report is then sent to the customer, providing a comprehensive overview of the current vehicle condition, the issues they came in for, and any other recommended repairs. This transparency is critical for building customer trust and ensuring the customer knows exactly what is happening with his or her vehicle.
Step 3: Internal Write-Up Stage
After the inspection report is sent to the customer, the shop begins its internal write-up stage. During this time, the shop team builds the service ticket, adding details about labor, parts, and costs associated with the repairs. Customers are generally not notified during this stage, as it is more of an administrative step. However, the accuracy of this stage is important because it sets up the shop for clear communication during the next phase.
Step 4: Estimate Presentation
Once the internal write-up is complete, the shop contacts the customer to discuss the estimate. Maintain a high level of communication with the customer. The shop may call the customer or request that the customer call them back to review the estimate, depending on the situation. At this stage, the customer is fully informed of the required repairs and the associated costs. Open communication here helps avoid any surprises and sets clear expectations for both the customer and the shop.
Step 5: Waiting on Parts
After the customer approves the repairs, the shop may enter the “waiting on parts” stage. This is an internal step that might occur if specific parts need to be ordered for the vehicle. Depending on the situation, some vehicles can skip this step if all the necessary parts are readily available. However, if parts are delayed, this step ensures that the shop tracks the vehicle’s status and maintains communication with the customer.
Step 6: Servicing the Vehicle
Once all parts are available, the next step is to service the vehicle. This is the core of the repair process, where technicians address the issues identified during the inspection. The service process includes everything from basic maintenance to more complex repairs, depending on the vehicle’s needs. Technicians work efficiently to complete the service and ensure all repairs are carried out according to the highest standards.
Step 7: Quality Control
After servicing, the vehicle undergoes a quality control check. This step ensures that all repairs have been completed correctly and that no issues were missed during the service process. Quality control is essential for preventing customer dissatisfaction and ensuring that the vehicle is in optimal condition when returned to the owner.
Step 8: Ready for Pickup
Once the vehicle passes quality control, the shop notifies the customer that the vehicle is ready for pickup. This is the final customer-facing stage, where the customer is informed that his or her vehicle is ready to go. At this point, ensure that all necessary paperwork is completed, and the customer is satisfied.
Step 9: “Call the Shop” Stage
Sometimes, during the servicing stage, technicians may discover additional issues that were not initially identified. If this happens, the vehicle is moved to a “call the shop” stage. This step ensures that the shop has another conversation with the customer before proceeding with additional repairs. While this does not happen often, it provides a mechanism for the shop to pause the repair process, discuss additional findings with the customer, and get approval before moving forward.
The original Article can be found at Auto Service Leader: https://autoflow.autoserviceleader.com/autoflow_1024